Feb 19, 2017

Rainbow Colored Paint Horse

Recently I've been doing a series of digital horses in different colors to offer a variety of products for every kind of horse lover. Here's a sample of some of the color variations I've been doing, a chart illustrating some common horse coat colors.

https://society6.com/product/horse-common-solid-coat-colors-chart_framed-print#s6-6626872p21a12v52a13v54

Well, after several days of creating all these real horse colors I went a little crazy when I got to paint horses and pinto color patterns. My paint horse ended up actually being covered with dripping wet paint! Haha! This is the end result and actually ended up becoming my latest Amazon Merch t-shirt design. :)

http://amzn.to/2kCKBch
Click the shirt image if you'd like to purchase this shirt on Amazon.

OK, play time is over. Back to real horse colors. I'll have those available on shirts and products soon too. Stay tuned!

Feb 11, 2017

New Whitetail Deer Art Products

In my previous post I introduced several new whitetail deer paintings. I've now added some of those images to products in my Zazzle store. These products include everything from coffee mugs to throw pillows, stationary to shower curtains.Here are a few examples.


This is just a small sampling of the products available. Visit my store to see all the whitetail deer images and products.


Feb 3, 2017

New Whitetail Deer Paintings

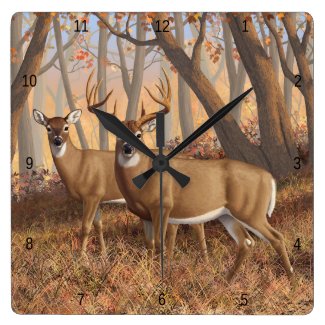
I have five new whitetail deer paintings. The first one is all original, hand painted (digitally) from scratch. This features a buck and doe in autumn walking through the woods.

http://pixels.com/featured/whitetail-deer-painting-fall-flame-crista-forest.html


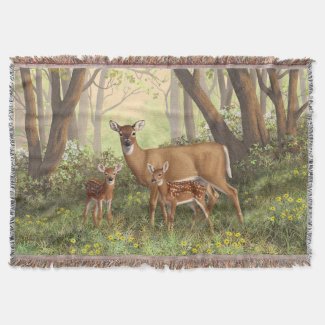
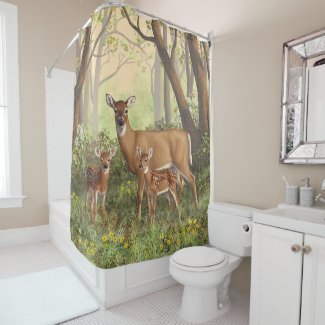
This next one is a modified version of the above scene. Because it is digital I was able to reuse some of the background, and the doe, with some adjustments. Obviously, the biggest change was converting the background from a fall scene to a spring scene, making things green and adding flowers. The buck, of course, is gone and in his place are his offspring, two adorable twin fawns.

http://pixels.com/featured/whitetail-doe-and-fawns-moms-little-spring-blossoms-crista-forest.html

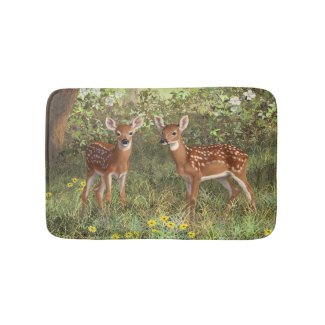
In case you just have a thing for cute fawns I made a few more variations featuring just the fawns. One is the just the two fawns in the woods. Don't worry, they haven't been abandoned! Mom's just over browsing a bush off-screen. :)

http://pixels.com/featured/whitetail-deer-twin-fawns-crista-forest.html

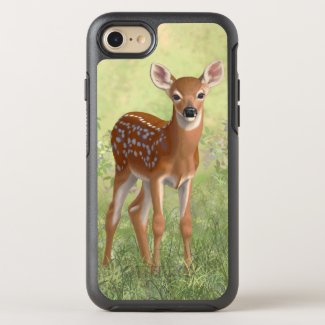
And here's a version of just one fawn in case your wall space is better suited to a vertically oriented print.

http://pixels.com/featured/cute-whitetail-fawn-crista-forest.html

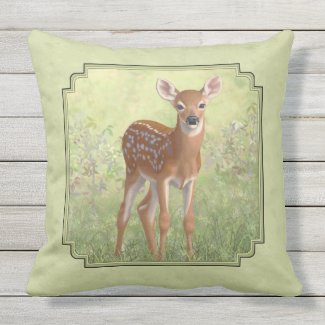
And, just one more, a simplified version of the single fawn. This makes a better choice for a small print, greeting card, or other small product such as a phone case.


http://pixels.com/featured/cute-whitetail-deer-fawn-crista-forest.html

All these images are available as prints, greeting cards, throw pillows, tote bags, and more. Click the image you like to see product options for that image.

Remember, because these images are painted digitally, they can be modified somewhat fairly easily. So if you want a customized version contact me and let me know. For example, if you'd like the first image with just the buck, it wouldn't be too hard for me to remove the doe. So don't be afraid to ask.


Feb 1, 2017

Deer Painting - Fawn WIP2

In my previous post I started blocking in a cute whitetail fawn. In this post I continue working the fawn's shading and fur.

With my "fur" brush, shown on the right here (Photoshop CS5), I start working the edges of the different colors to give them somewhat of a fur-like texture instead of just hard straight lines. I've started doing this below his ear in this image.


My fur brush is really just a simple elongated teardrop or bullet shaped brush stroke. Google how to create PS brushes to create your own brush. I won't get into PS basics here. But I'll give you my default settings for this shape to create a fur-like pattern. The most important thing here is to turn on Shape Dynamics and set the Angle Jitter Control to Direction so that you can control the direction of the fur by the direction of your brush stroke. Set the Size Jitter to about 20% and turn Control to Off. Next turn on Scattering and that to about 80%.


After getting all the edges furred up now we start blending those edges to give them a softer look. This harsh color change doesn't look very natural. To do this you can either use this fur brush with a Mixer Brush to blend the edges, or use a regular brush and click Transfer in the Brush panel (or click Tablet Pressure Controls Opacity at the top tool bar). I prefer to use a regular brush with Tablet Pressure Controls Opacity because the Mixer Brush tends to blur things too much. I want to blend the color tones without making the individual hairs too fuzzy.

Here you can see I've been working the edges to soften them. As you work the edges keep changing the color from one side of the edge to the other, overlapping them a few times. You don't want it to look like only one color overlaps the other. You want to go back and forth to get a more naturally blended look.


And here's the little cutie-pie all finished and in his natural surroundings. Feel free to leave comments if you have any questions.


Shop Art Supplies

Related Posts Plugin for WordPress, Blogger...